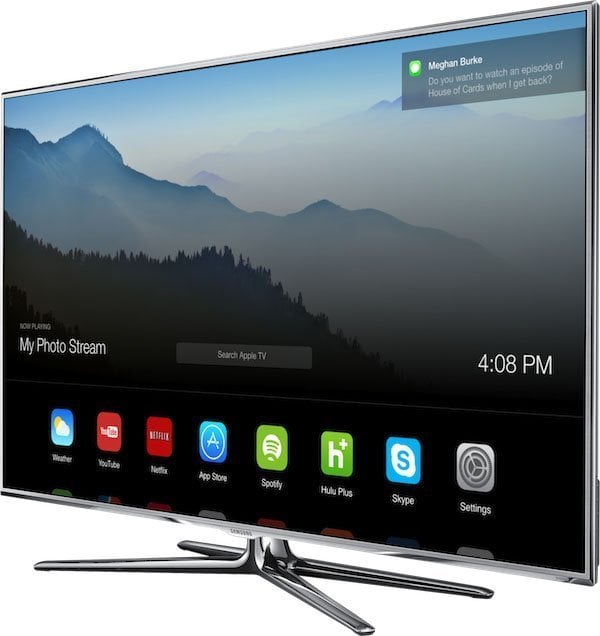
The power of XBMC is its ability to manage content weather on your Apple TV, N.A.S. device, or network connected computer. It does not matter if you have movies, television shows, music, or pictures XBMC is designed with the unique ability to incorporate this content into the software itself. This is an extremely attractive feature for those of us utilizing XBMC on our Apple TV, especially the Apple TV 2. With its limited storage and lack of USB drives, the Apple TV 2 is primed for taking advantage of XBMC’s custom Library features. Let’s start by looking at the primary libraries and what each offers.
VIDEO LIBRARY
The Video Library, one of the XBMC databases, allows the organization of your video content by information associated with the video files themselves. This information can be obtained in various different ways, like through Scrapers (ie. Movies, TV shows and Music Videos) and nfo files. Library view allows you to browse your video content by things such as; Genre, Title, Year, Actors and Directors.
MUSIC LIBRARY
The Music Library, one of the XBMC databases, is a key feature of XBMC. It allows the organization of your music collections using the information stored in your music file ID tags, like title, artist, album, genre and popularity. It also allows users to add network sources, such as Last.FM, to their library. Making this a much needed, and must have, feature.
Luckily, each library functions the same when it comes to Adding and Removing Content. So let’s take a quick look at the ins and outs of adding files to our libraries. If you are simply looking to remove items from your library you can skip to the bottom of this article.
ADD FILES
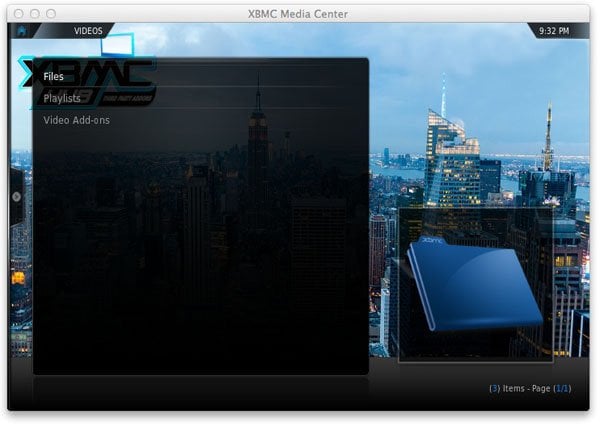
1) From within the correct category you will want to select “Files.” This will open a new window displaying any content that is already added. This will assuredly be blank.
 2) Select the option that reads Add (content). Meaning, if you are in the Video section, you will choose Add Videos.
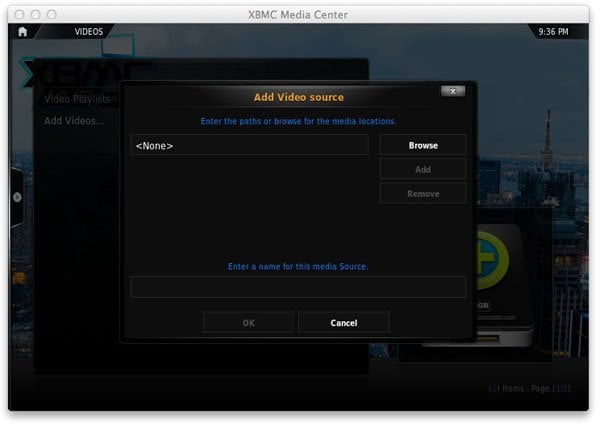
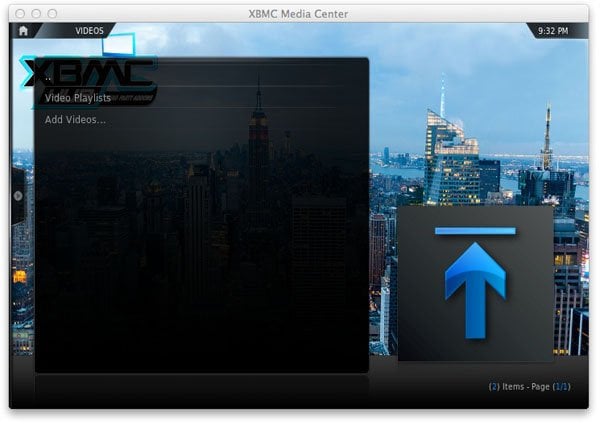 3) Here you will see a pop up window asking you to enter the path of your content. This best way to select this location is by clicking on the Browse.
 4) You see a long list of options on the right. From here you can navigate to any folder located on your Apple TV as well as any number of network locations. This is how you will add a folder to XBMC. If you are adding Network Storage then you want to know what protocol the source is using. Typically SMB (Windows) or UPnP. By selecting these options, XBMC will scan your network for devices. For example, I will scan my network for UPnP sources. The results are below.
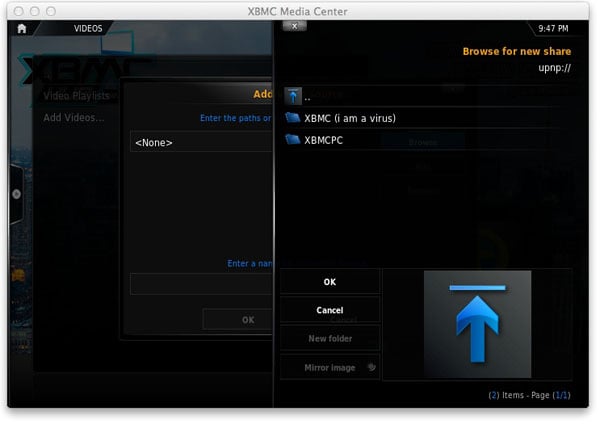 5) Now it is a simple matter of navigating to the folder that contains to content you want to add. It is important to note that you must be viewing the content WITHIN the folder when you select OK. You don’t want to select OK while merely highlighting the folder itself. Once you select the correct folder you will need to name it again within XBMC. For this example I am naming the source Network Movies Folder.
 6) We will need to tell XBMC what type of content is in the folder we are adding to our XBMC Library. This is of the utmost importance for you to get the full benefit of Fanart, backgrounds, posters, and thumbnails. For the sake our my example we are telling XBMC that I am scanning a folder of (Movies). The last thing:
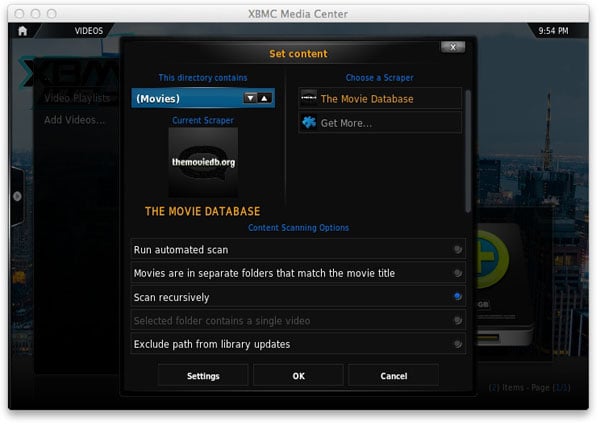 7) Lastly, we will want to select the option RUN AUTOMATED SCAN. This will let XBMC know that you want it to scan the content into your library and then update your Library at the same time. When you click OK you will be met by a POP UP Windows – fear not and select YES!
REMOVING FILES
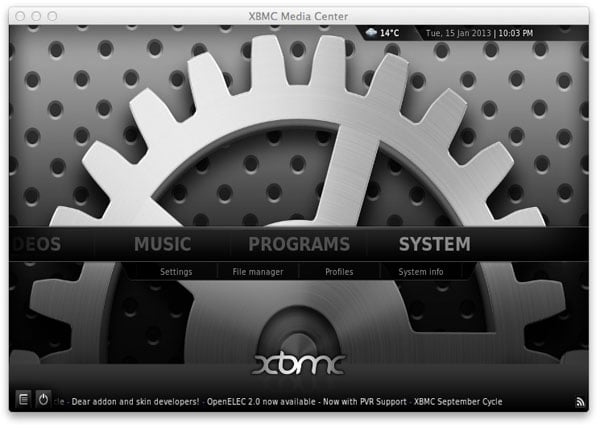
1) To remove items from your XBMC Library, you must first tell XBMC to allow this functionality. By default, it is disabled to prevent accidental content removal. So, how do we do this? From your home scree go to the System menu option.
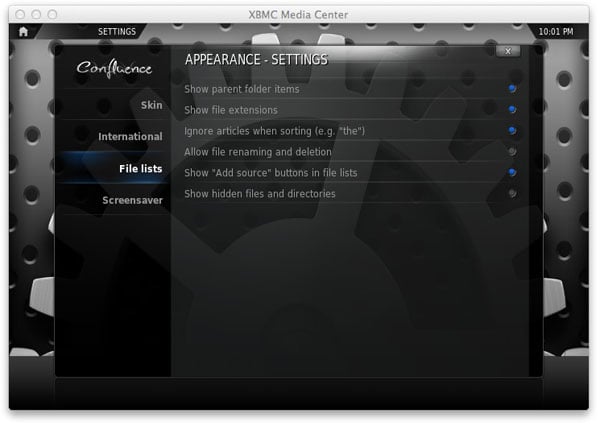
 2) You will want to select the top option titled Appearance.
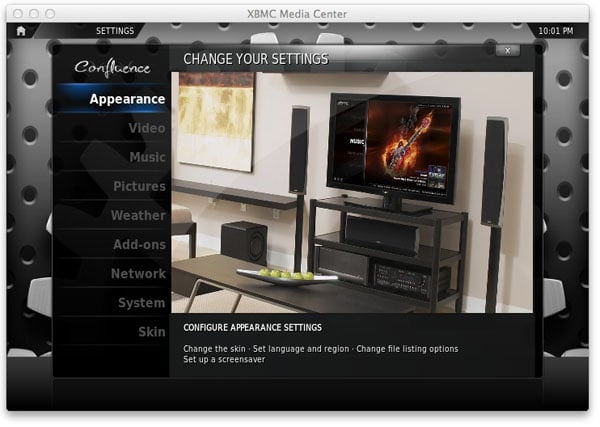 3) Now you will have access to the settings options for the Files controls. Here you can adjust multiple options, but we are interested, specifically, in “Allow file renaming and deletion.” Select this option and make sure the circle on the right becomes illuminated.
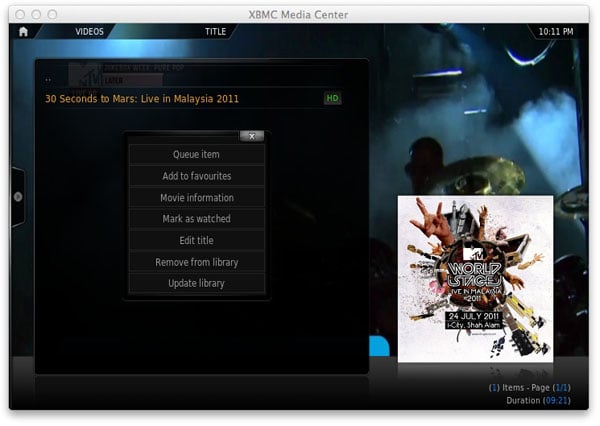
 4) Now that the hard part is done, we will simply navigate to any Library within XBMC. To keep with our theme of movie content I will navigate to my Movies Folder. once there, navigate to the file you wish to remove and while the video selected hold down your MENU button until the context menu pops up.


Comments
Be The First to Comment