
Back in January XBMC released the long awaited Frodo 12.0 for all of your Apple products. Now you can install XBMC on your iPads, iPhones, iPods, and your, glorious, little Apple TV 2. The installation is almost the exact same as installing previous builds of XBMC with 4 subtle differences. Here we have put together a guide that incorporates these changes. So, sit back, relax and grab a cup of coffee.
Note: XBMC is not yet compatible with the 5.1+ Apple TV software. XBMC Developer Memphiz said on XBMC forum that the team is “trying their best” to make XBMC running on Apple TV 5.2. XBMC now available on iOS 6.1 for Apple TV
Upgrading An Existing Installatin Of XBMC EDEN 11.0
So you may be asking the question, “what do I do if I already have XBMC Eden installed on my Apple TV?” If this is the case, we have a few tips for you specifically. After extensive testing throughout the BETA phase, the team at XBMCHUB.COM has discovered that you will find the best results by simply doing a fresh install of XBMC Frodo. Yes, it is possible to back up your settings and reinstall your preferences but this often leads to many of the same issues.
It is not the happy news you may have wanted, but it ends up that XBMC Frodo plays nicest with your Apple TV when you uninstall XBMC, and all of your presets, from your device. Though I am unsure where the problem is located when upgrading directly… The problem is there all the same.

Installing A Fresh Version Of XBMC FRODO 12.0
Requirements
- Jailbroken ATV2 running firmware 5.0.2 or older
- Mac computer (use Terminal App) or Windows PC (use PuTTY App)
Step 1: Launch the “Terminal” or “PuTTY” application.
Step 2: Ensure that your computer and your Apple TV are on the same network.
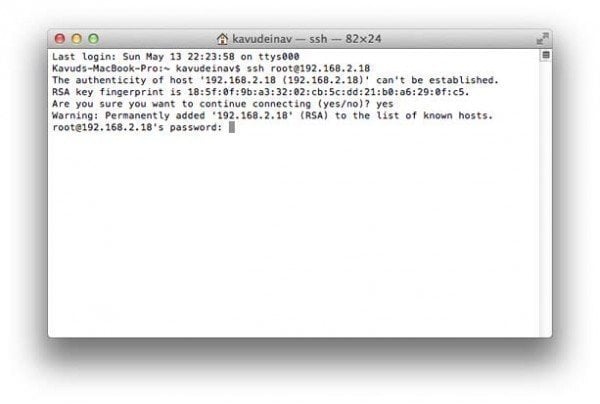
Step 3: Connect to your Apple TV via SSH using the following commands.
- ssh root@[Your Apple TV’s I.P. Address]
Example: ssh root@192.168.2.18
This can be found under General/Network on your ATV’s main menu
Note: Should you receive an “Authentication Error,” copy and paste the following command into the Terminal window and press Enter, then continue.
- rm ~/.ssh/known_hosts
Step 4: Agree to any Security Prompts by typing “yes” (without quotations), then press Enter.
Step 5: When prompted for a Password, type the word “alpine” (without quotations) then press Enter.
Step 6: Copy and Paste the Following Commands into your Terminal App, pressing the Enter key after each. It’s important that you wait for each one to finish before moving onto the next. Don’t worry… you will know when each line is finished.
1) apt-get install wget
2) wget -O- https://apt.awkwardtv.org/awkwardtv.pub | apt-key add –
3) echo “deb https://apt.awkwardtv.org/ stable main” > /etc/apt/sources.list.d/awkwardtv.list
4) echo “deb https://mirrors.xbmc.org/apt/atv2 ./” > /etc/apt/sources.list.d/xbmc.list
5) apt-get update
6) mkdir -p /Applications/AppleTV.app/Appliances
7) apt-get install org.xbmc.xbmc-atv2
8) mkdir -p /Applications/XBMC.frappliance
9) reboot
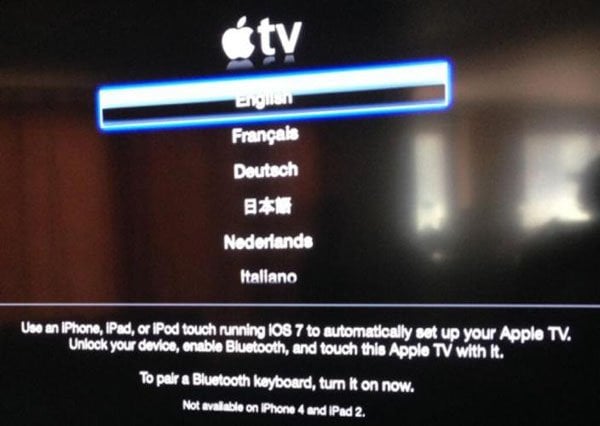
Step 7: Once the Apple TV menu reloads, Launch XBMC into XBMC Frodo.
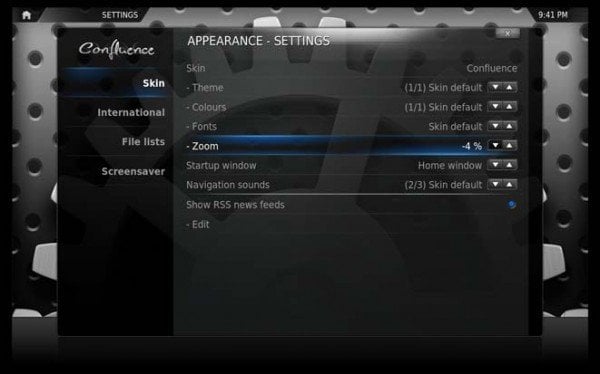
Step 8: To ensure the new build fits your screen, let’s enter the “Settings” sub menu under the “SYSTEM” heading.
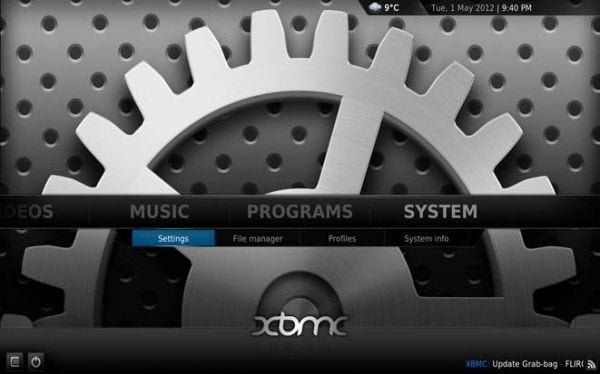
Step 9: Select the “Appearance” tab from the left menu bar.
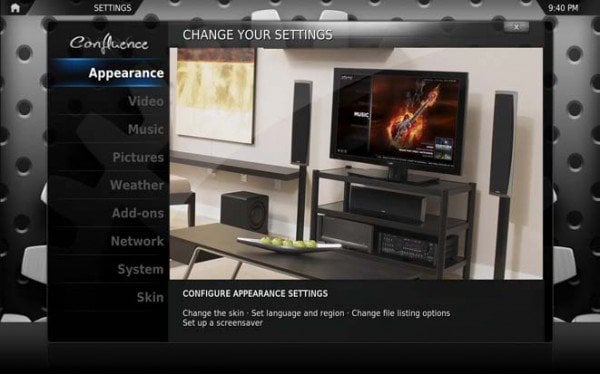
Step 10: Under the “Skin” menu, you’ll now want to choose “-4%” for the “Zoom” field so that your XBMC configuration will properly fit your television display. Depending on the television, you might have to play around with this, but it should work flawlessly at the “-4%” setting. Press “MENU” on your Remote Control to return back one level once this is done.
Step 11. Also worth noting: in XBMC 12.0 you will need to set up your sound. For this simply navigate to Settings/System/Audio Output go to the second option from the bottom and sleet the audio option that is right for you. Afterwards, go to the very first option and select between HDMI and Analog. If you are unsure… you are on HDMI.
Congratulations! Your Apple TV now has XBMC Frodo installed on it, and fitting on your screen. Now, that wasn’t so bad, was it?


Comments
Be The First to Comment