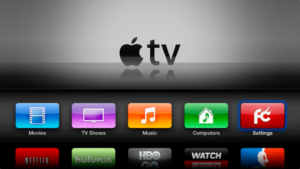
If you have an existing TV setup, then you can definitely make it better by getting an Apple TV. What makes the Apple TV great is the fact that you can actually do a lot of things with it. For instance you can use it to play movies, music, and videos from your iPad, iPhone via AirPlay. However, you can also browse through thousands of games and apps that can be easily accessed from the App Store. To access them directly from your TV though, you need to have a 4th generation Apple TV. Older generations support less features and you’ll generally be able to playback media and nothing more.
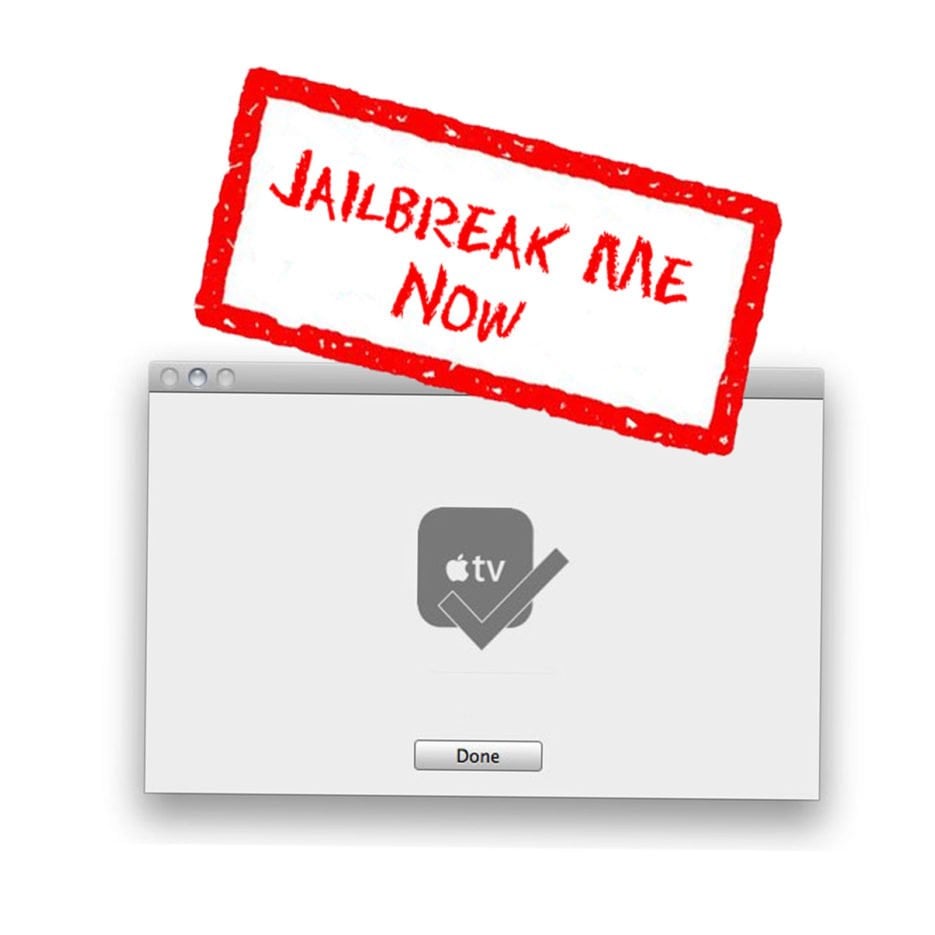
However, if you jailbreak apple tv, then that’s a different story. After you’ve jailbroken your Apple TV, you can proceed to install a wide range of systems, services, and applications on it that make it a lot more appealing even than the latest Apple TV.
Should you jailbreak your Apple TV?
While generally people are interested to know whether they should jailbreak their iPhone (there are many pros and cons to doing that), there are significantly less cons to jailbreaking your Apple TV. As for the pros, there are more than you can imagine.
Here are some of the most popular apps you can install once you’ve jailbroken your Apple TV:
aTV Flash (black): What makes this app great is the fact by that using it you can actually play a wide range of video format on your Apple TV. One example is the popular .mkv format. You can also use unofficial applications and also browse the internet.
Kodi: Kodi is an entertainment hub that allows you to mostly play podcasts, videos, and music. It also enables PVR functionality, meaning that on top of watching TV, you can also record your favorite shows, etc.
Jailbreaking your Apple TV
One of first things you need to know if you want to jailbreak apple tv is that you need to have the right model. If you do, then jailbreaking it is very simple. For instance, if you have the first generation Apple TV, you can jailbreak it by using Rowmote. The second generation is also easy to jailbreak, but we’ll cover more about that below.
Now, if you have an Apple TV 2nd generation and want to jailbreak it, here is how you can do it:
Those lucky owners if a 2nd Generation Apple TV should be happy, since they can actually jailbreak it. To do this, you first of all need to go online and look for Seas0nPass. We recommend you get the tools from the FireCore website. Once you get the tools, you have to follow the steps below:
- Unrar the software and copy it to your Applications folder.
- Get a micro USB cable and connect your Mac to your Apple TV.
- Launch the jailbreaking software and then click on Create IPSW.
- When prompted, you need to press the Menu and Play buttons on the Apple TV’s remote control. You should press the buttons simultaneously.
- Once the software does its thing, you need to click on Done.
- Lastly, all you have to do is unplug the USB cable and get an HDMI which you’ll use in order to connect the Apple TV to your TV. Turn on your TV and enjoy!
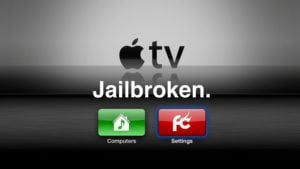
Once the Apple TV reboots, you will see the FireCore logo. Once you see that, your device has been successfully jailbroken. Now you can proceed to installing any apps and services you want on it. Enjoy your freshly jailbroken Apple TV!
Jailbreaking Apple TV 4th generation
- If you want to jailbreak apple tv 4th generation, you’ll first of all need to connect it to your Mac by using a USB-C cable.
- Automatic updates should be disabled so that your Apple TV cannot be updated anymore. To do this, go to Settings, System, Software Updates.
- Go online and look for the iOS App Signer and Pangu jailbreak tool. Download and unrar them in the same folder.
- Open Xcode and then go to File, New, Project, tvOS, Application, Single View, and finally Next.
The following fields should be filled in exactly as you see below:
- Product Name: Jailbreak
- Organization: *Input your name*
- Organization Identifier: com.jailbreak.appletv
Note:
- Do not change anything else. After you’re done, click Next and then Create.
- Click Product, Destination, and then Apple TV.
At this point you’ll need to select your Apple ID and then link it to Xcode. You can do that by going to Xcode, then Preferences and then Accounts. Click Fix issue.
Remember the Pangu files you’ve extracted in the same folder as App Signer? Well, now you have to launch the App Signer and then select the atvipa.app file by using the Browse button. You can find this file in the Payload folder. While you’re still in the App Signer, click on the Certificate and Provisioning Profile for the application that was created in Xcode. Next, do this:
- Save the atvipa.ipa file on your desktop.
- Launch Xcode and then navigate to Window, Devices and then click on your Apple TV.
- Under installed apps, be sure to click on the “+” and then select the atvipa.ipa.
At this point the jailbreak tool is being deployed and once your home screen changes to that of Pangu, you’re good to go. One last step though is to launch the app to complete the jailbreaking process.
Congratulations! You’ve just jailbroken your Apple TV!


Comments
Be The First to Comment